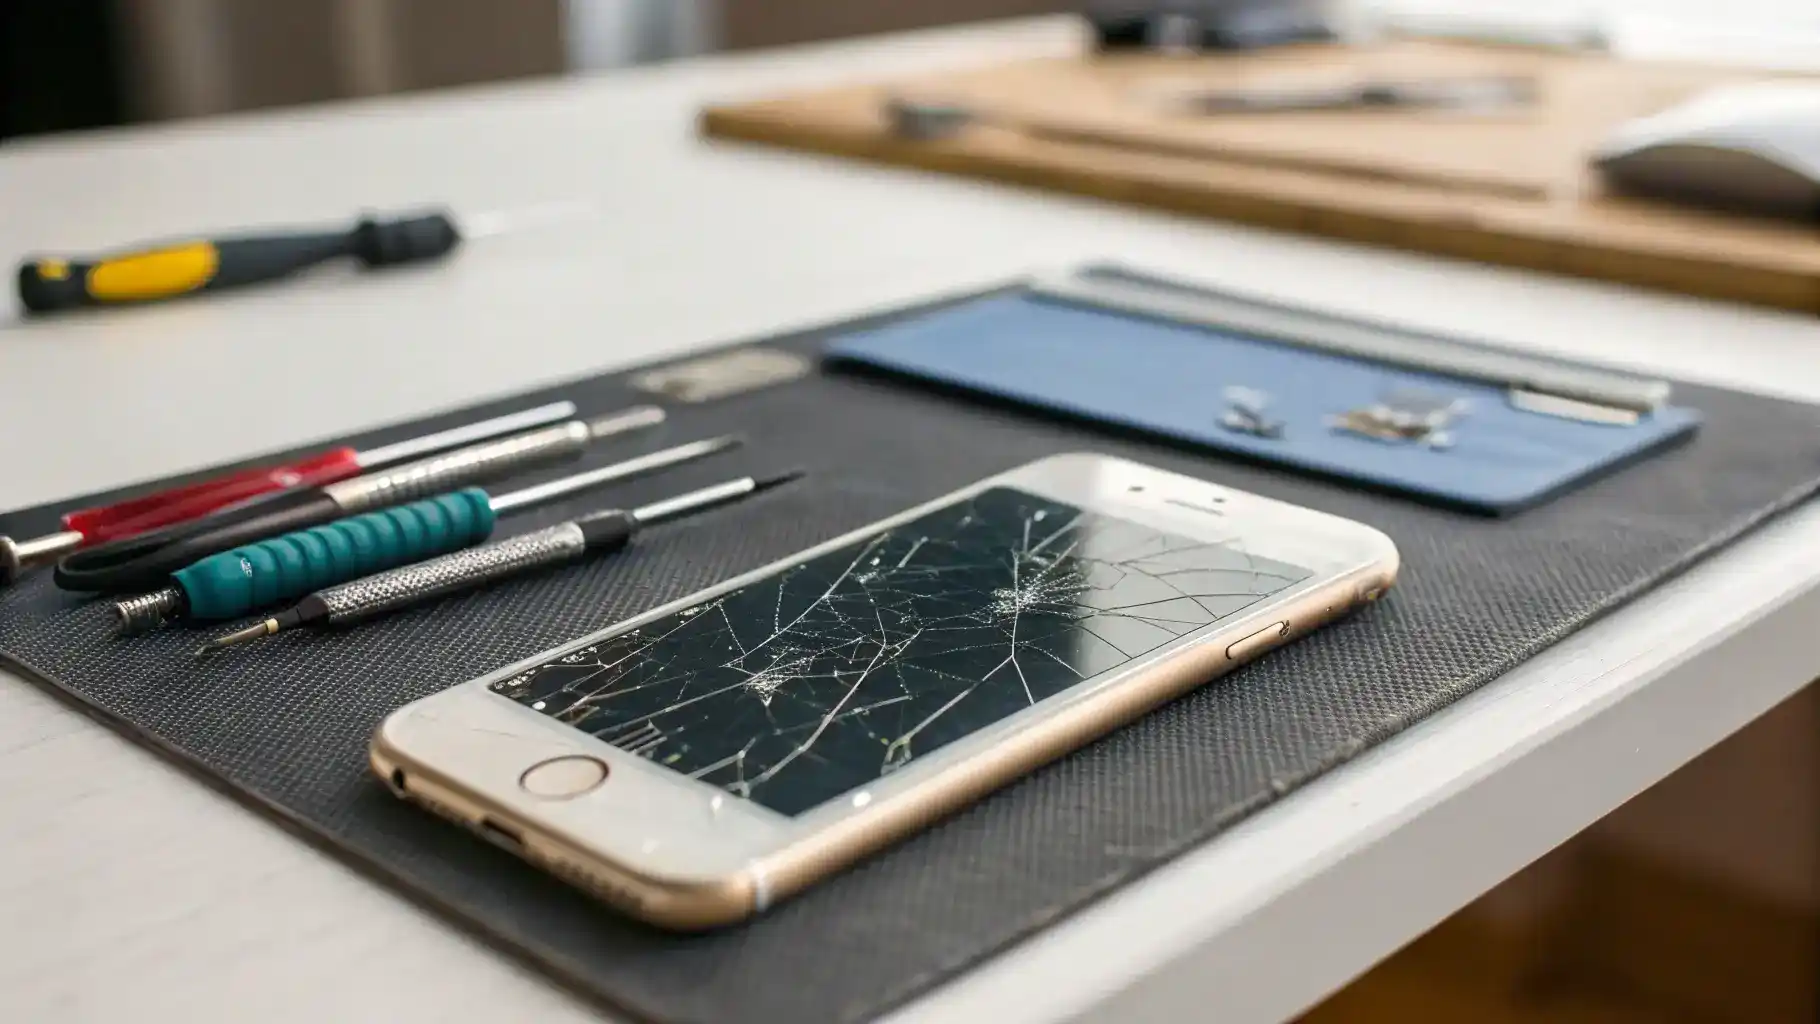
iPhone screen damage is a common issue faced by users. The most frequent causes include accidental drops, water exposure, and pressure from sitting on the device. Each of these incidents can lead to various types of damage, from minor scratches to complete screen failure. Addressing these issues promptly is crucial. Ignoring a cracked screen can lead to further damage, affecting the device’s functionality and potentially leading to costly repairs. Early intervention can save you time and money in the long run.
Signs You Need a Screen Replacement
Recognizing when your iPhone needs a screen replacement is essential. Common symptoms include visible cracks, unresponsive touch areas, and distorted colors on the display. If you notice any of these signs, it’s time to consider a screen fix. Other indicators may include flickering screens or issues with Touch ID functionality. Each of these problems can significantly impact your user experience, making it vital to address them as soon as possible.
DIY vs. Professional Screen Replacement
When faced with iPhone screen damage, users often wonder whether to attempt a DIY iPhone repair or seek professional help. Each option has its pros and cons.
Pros of DIY Repairs:
- Cost-effective: DIY repairs can save money on labor costs.
- Convenience: You can repair your iPhone at your own pace.
- Learning experience: Gaining skills in DIY iPhone repair can be rewarding.
Cons of DIY Repairs:
- Risk of further damage: Inexperienced users may cause additional iPhone screen issues.
- Time-consuming: Repairs can take longer than expected.
- No warranty: DIY repairs typically void any existing warranty.
Tools and Skills Required for DIY Repairs:
- Essential tools include a screwdriver set, suction cup, and plastic prying tools.
- Basic technical skills are necessary to navigate the repair process.
- Familiarity with iPhone components is beneficial.
Benefits of Professional Repairs:
- Warranty: Professional services often come with a warranty on parts and labor.
- Quality assurance: Technicians have the expertise to ensure a proper screen fix.
- Time-efficient: Professionals can complete repairs quickly and effectively.
In summary, while DIY repairs can be appealing for their cost-effectiveness, professional screen replacement offers peace of mind and quality assurance.
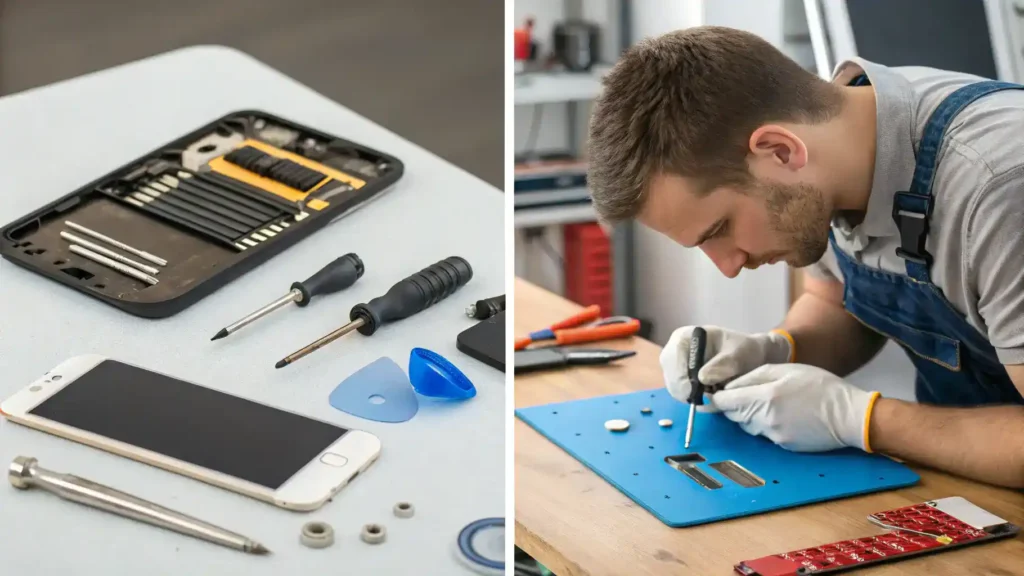
Step-by-Step Guide to Replacing Your iPhone Screen

Replacing your iPhone screen can be a daunting task, but with the right guidance, it can be accomplished successfully. Follow this detailed guide for a DIY iPhone display replacement.
Tools You Will Need
Before starting, gather the necessary tools for your iPhone screen replacement:
- Small Phillips and Pentalobe screwdrivers
- Suction cup tool
- Plastic prying tools
- Tweezers
- Replacement screen
- Adhesive strips
Having the right tools will make the process smoother and more efficient.
Preparing Your iPhone for Repair
Preparation is key to a successful screen replacement:
- Power off your iPhone completely.
- Remove any SIM card and accessories.
- Work in a clean, well-lit area to avoid losing small parts.
Taking these steps will help prevent complications during the repair.
Removing the Broken Screen
Follow these steps to safely remove the broken screen:
- Use the suction cup to lift the screen gently.
- Insert a plastic prying tool to separate the screen from the body.
- Carefully disconnect the battery before removing the screen.
- Unscrew and detach the screen connectors.
Be cautious to avoid damaging internal components during this process.
Installing the New Screen
Once the old screen is removed, it’s time to install the new one:
- Align the new screen with the iPhone body.
- Reconnect the screen connectors securely.
- Reattach the battery connection.
- Use adhesive strips to secure the new screen in place.
Ensure everything is aligned correctly to avoid future iPhone screen issues.
Testing Your New Screen
After installation, it’s crucial to test the new screen:
- Power on your iPhone and check for display functionality.
- Test Touch ID and other features to ensure they work properly.
- Look for any signs of screen damage or misalignment.
Testing will confirm that your iPhone screen replacement was successful.
Common Issues After Screen Replacement
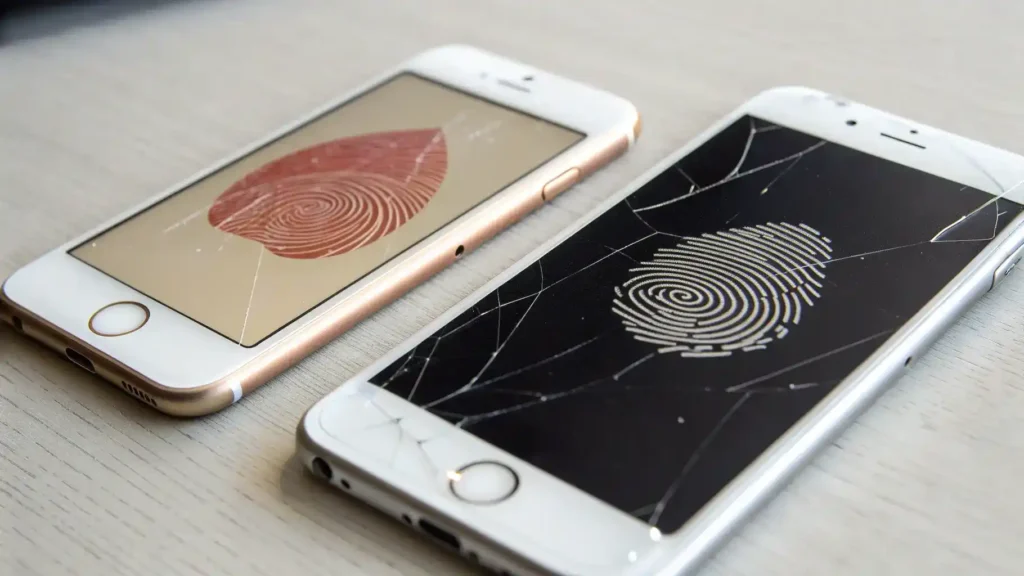
After an iPhone screen replacement, users may encounter several issues. Understanding these problems can help in troubleshooting effectively.
Touch ID Issues
Touch ID may stop functioning after a screen replacement. This can occur if the home button is damaged or not properly connected. To troubleshoot:
- Check the home button connection.
- Ensure the replacement screen is compatible with your iPhone model.
- Reset your iPhone settings if necessary.
Display Problems
Display issues can manifest as flickering, unresponsive touch, or color discrepancies. Common causes include poor connections or defective parts. Here are some tips:
- Inspect all connections to ensure they are secure.
- Test the screen with a different device if possible.
- Consider redoing the installation if problems persist.
Addressing these issues promptly can prevent further complications and ensure your iPhone functions smoothly.
Cost of iPhone Screen Replacement

The cost of iPhone screen replacement varies significantly between DIY and professional repairs. Understanding these costs can help you make an informed decision.
DIY vs. Professional Repairs
DIY repairs can be cost-effective but come with risks. Professional repairs offer expertise but may be pricier. Here’s a breakdown:
- DIY costs range from $50 to $150 for parts.
- Professional repairs typically range from $100 to $300.
Factors Influencing Price
Several factors can influence the cost of iPhone screen replacement:
- iPhone model: Newer models tend to be more expensive.
- Repair shop reputation: Authorized service centers may charge more.
- Warranty status: Repairs under warranty may be cheaper or free.
Understanding these factors can help you budget effectively for your iPhone screen replacement needs.
Warranty and Repair Options

When it comes to iPhone screen replacement, understanding Apple’s warranty policy is crucial. Apple offers a limited warranty that covers manufacturing defects but does not include accidental damage like cracked screens. If your iPhone is still under warranty and you have AppleCare+, you may be eligible for a reduced repair cost. However, if the damage is deemed accidental, you will likely incur a fee for the screen fix.
For those considering third-party repair options, there are several implications to keep in mind. While third-party services often provide cheaper alternatives for iPhone repair, they may void your warranty if the repair is not authorized by Apple. Additionally, the quality of parts used can vary significantly, which may affect the longevity and performance of your iPhone display replacement. Always research and choose reputable repair shops to ensure quality service.
Frequently Asked Questions
How long does an iPhone screen replacement take?
Typically, a professional replacement takes about 30 minutes to an hour, while DIY can take longer depending on experience.
Can I still use my iPhone if the screen is cracked?
Yes, but it is not recommended as it can lead to further damage and affect usability.
Will replacing my screen void my warranty?
If done by an unauthorized repair service, it may void your warranty. Always check with Apple first.
What should I do if my Touch ID stops working after a screen replacement?
Ensure the screen is properly connected; if issues persist, consult a professional.
Is it worth it to repair an old iPhone?
It depends on the model and condition; consider the cost of repair versus the value of upgrading.
Conclusion
Timely iPhone screen replacement is crucial for maintaining device functionality and user experience. A cracked screen can lead to further damage, affecting the iPhone’s display and touch sensitivity. Ignoring screen issues may result in costly repairs down the line.
When considering your options, weigh the benefits of DIY iPhone repair against professional screen replacement services. While DIY can save money, it may not guarantee quality or safety. Professional services often provide warranties and ensure proper installation, especially for complex iPhone display replacements.
Ultimately, if you’re facing significant iPhone screen damage or persistent Touch ID issues, seeking professional help is advisable. Prioritize your device’s health and your peace of mind by making informed decisions about iPhone repair costs and available solutions.
Understanding iPhone Screen Replacement
iPhone screen replacement is a common necessity for many users. Whether due to accidental drops or everyday wear and tear, cracked screens are a frequent issue. Knowing when to seek professional help or attempt a DIY iPhone repair can save time and money.
Common iPhone Screen Issues
Cracked screens are just the tip of the iceberg. Other iPhone screen issues include:
- Unresponsive touch functionality
- Display discoloration
- Flickering screens
- Touch ID issues
DIY iPhone Repair vs. Professional Screen Replacement
Deciding between DIY repairs and professional services can be challenging. Consider the following:
- DIY iPhone repair can be cost-effective but requires skill.
- Professional screen replacement ensures quality and warranty.
- Assess your comfort level with tools and repair processes.
iPhone Repair Costs
Understanding iPhone repair costs is crucial. Factors influencing costs include:
- Model of the iPhone
- Extent of damage
- Service provider rates
Tips for a Successful Screen Fix
To ensure a successful iPhone display replacement, follow these tips:
- Backup your data before repairs.
- Use quality replacement parts.
- Follow repair guides carefully if opting for DIY.
Conclusion
iPhone screen replacement is an essential skill for maintaining your device. Whether you choose to repair it yourself or seek professional help, understanding the process can lead to better decisions and a functional device.
Explore our site for more guides, tutorials, more tech and expert tips to boost your tech knowledge and stay ahead in the digital world!